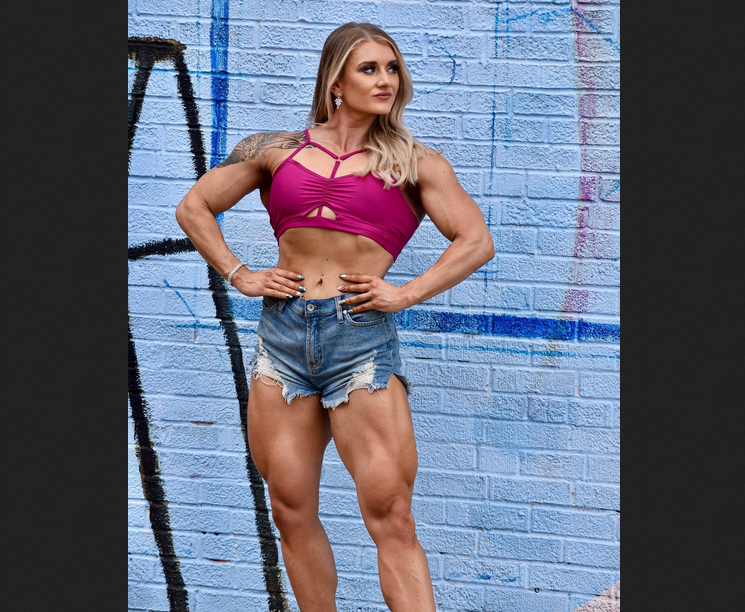
Mastering the squat is essential for building lower body strength and achieving maximum gains. Perfect form not only prevents injuries but also optimizes muscle engagement. Here's your ultimate guide to squatting success:
1 - Set Up: Begin with your feet shoulder-width apart. Toes should point slightly outward. Keep your chest up, shoulders back, and core engaged.
2 - Initiate the Movement: Start the squat by pushing your hips back, as if you're sitting into a chair. Keep your weight balanced over your heels.
3 - Depth: Aim to break parallel, meaning your hips drop below your knees. This engages your glutes and quads effectively.
4 - Knees and Toes Alignment: Keep your knees in line with your toes. Avoid letting them cave inward or push too far forward.
5 - Spine Position: Maintain a neutral spine throughout the movement. Avoid rounding or excessively arching your lower back.
6 - Breathing: Inhale as you descend, and exhale as you push back up. This helps stabilize your core.
7 - Depth Control: Don't sacrifice form for depth. If you can't squat deep without compromising form, work on mobility and flexibility.
8 - Foot Placement: Experiment with your foot placement. Some may find a wider stance or toes pointing slightly outward more comfortable.
9 - Barbell Placement: For back squats, rest the barbell on your upper back, not your neck. For front squats, rest it on your shoulders.
10 - Warm-Up: Prioritize warming up your lower body with dynamic stretches and bodyweight squats.
11 - Progressive Overload: Continuously challenge yourself by increasing weight or reps over time. This promotes muscle growth.
12 - Recovery: Ensure adequate rest and recovery between squat sessions to prevent overuse injuries.
Remember, mastering the squat takes time. Start with bodyweight squats and gradually add weight as your form improves. It's also advisable to seek guidance from a certified trainer to refine your technique. The squat is a cornerstone of strength training; with perfect form, you'll unlock maximum gains while reducing the risk of injury.


No comments:
Post a Comment